Setting up remote access to your Raspberry Pi can be a powerful way to manage and interact with your device from anywhere in the world. Whether you're looking to monitor home automation systems, run server applications, or simply tinker with your projects, establishing secure remote access is essential. This guide will walk you through setting up SSH (Secure Shell) on your Raspberry Pi, ensuring that your connection remains both reliable and secure.
For beginners, navigating the process of enabling SSH and configuring it properly might seem daunting. However, with this step-by-step guide, we'll break down each stage into manageable steps, ensuring even those new to Raspberry Pi can successfully set up their remote access. Let's delve into the details of how to configure your Raspberry Pi for secure SSH connections.
Enabling Secure Connections Through SSH
To connect to your Raspberry Pi remotely, you must ensure that SSH connections are allowed on Port 22. Begin by accessing the terminal on your Raspberry Pi. Once there, type 'sudo raspi-config' to open the configuration interface. Navigate to Interfacing Options using the arrow keys, then select SSH. Enable it, and confirm your choice. This simple setup ensures your Raspberry Pi is ready to accept incoming SSH connections.
SSH stands for Secure Shell, a cryptographic network protocol used for operating network services securely over an unsecured network. It provides strong authentication and secure communications between two untrusted hosts over an insecure network. By enabling SSH, you allow secure communication with your Raspberry Pi, which is crucial for managing it remotely.
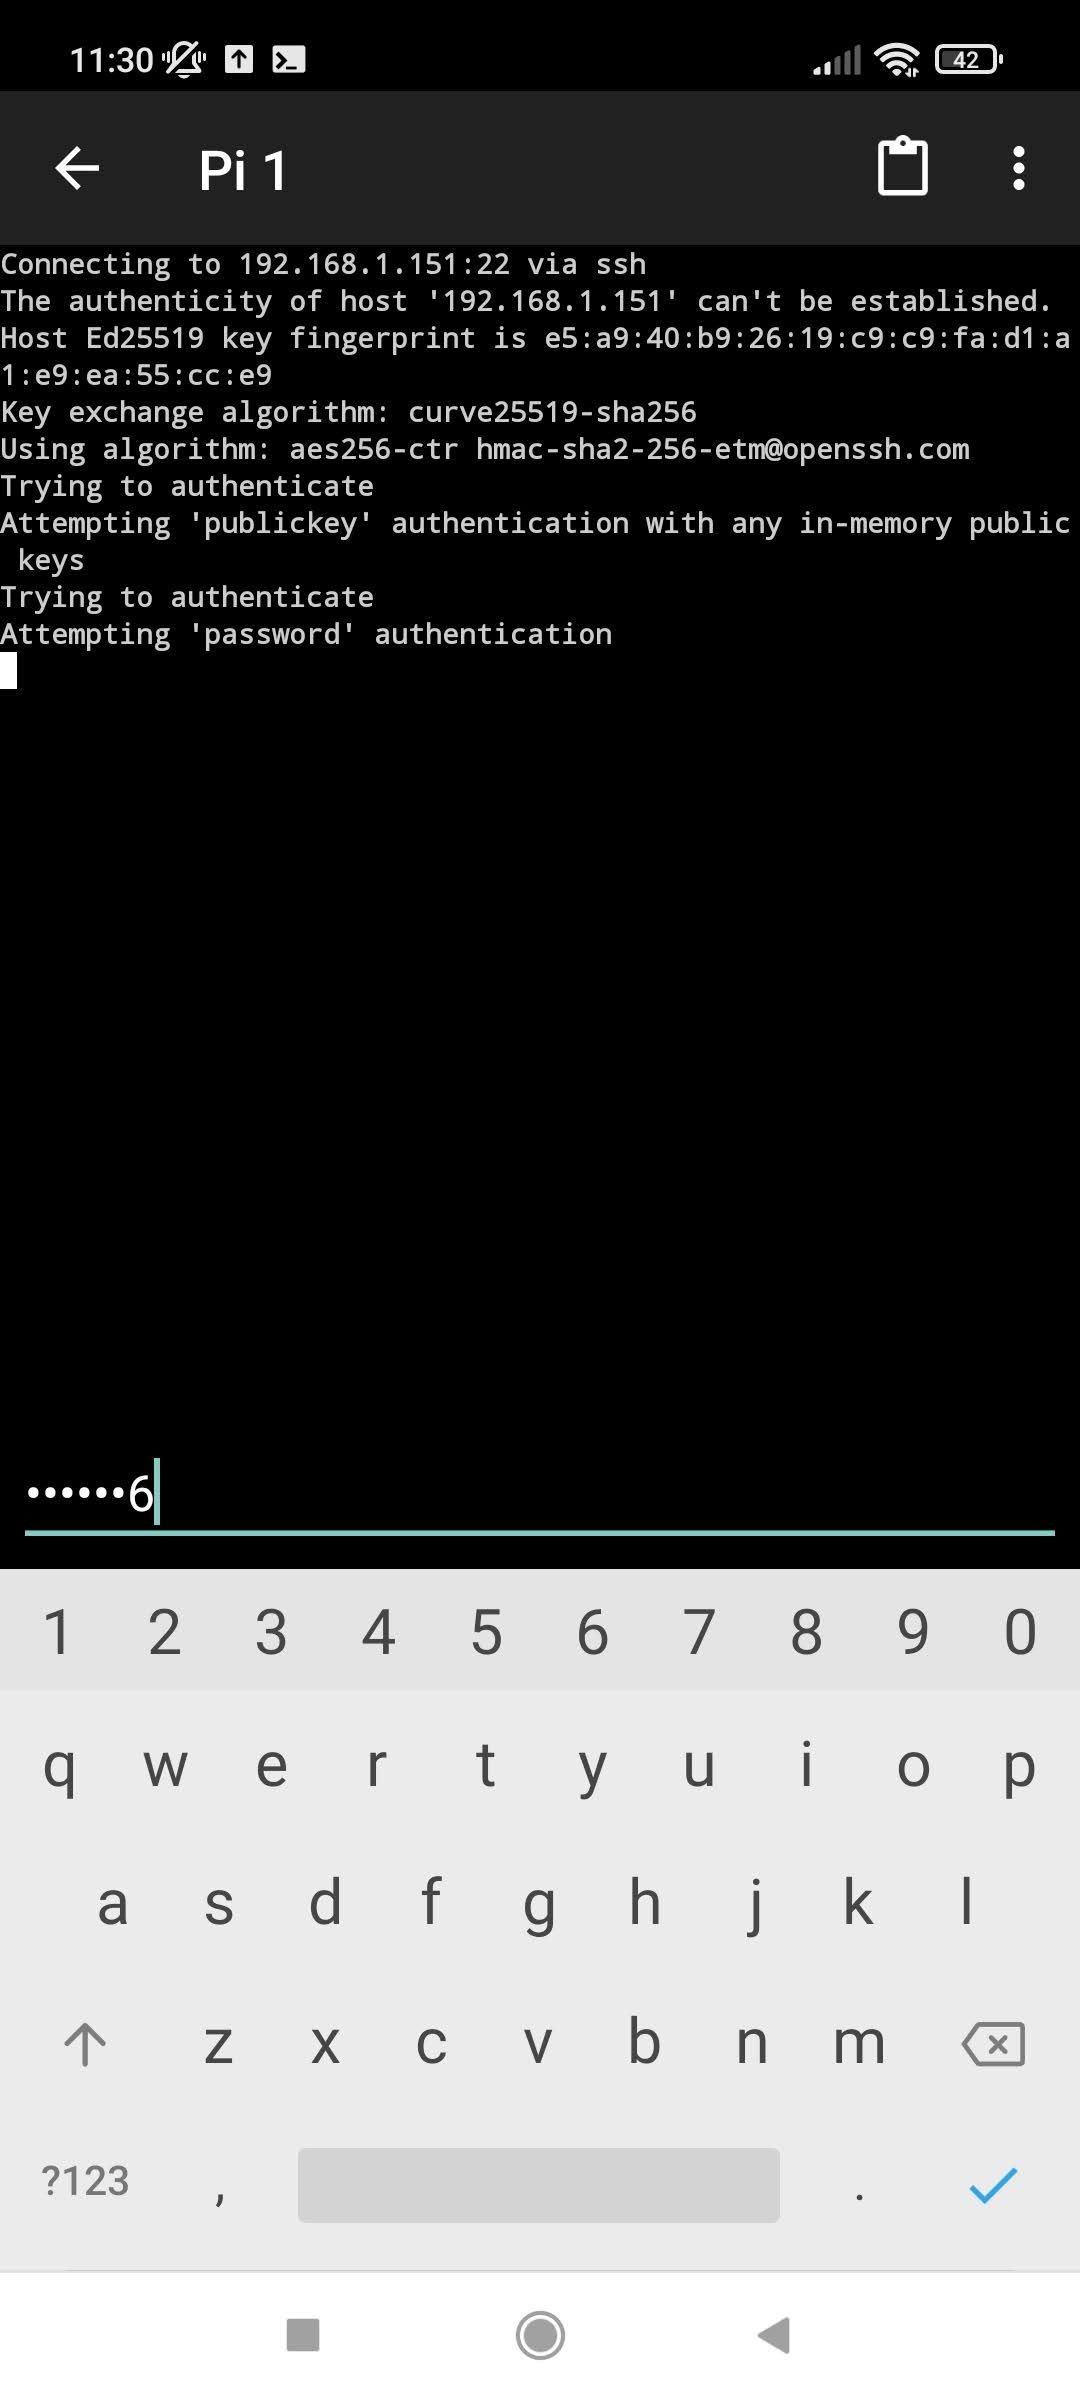
Once SSH is enabled, you can test the connection by opening a terminal window on another computer within the same local network and entering the command: ssh pi@
Connecting Your Raspberry Pi via SSH
The official Raspberry Pi documentation provides comprehensive instructions on connecting to an SSH server. To establish a connection, you need to know the IP address of your Raspberry Pi. Use the command 'ifconfig' or 'ip addr' in the terminal to find it. With the IP address in hand, you can proceed to connect from another computer by typing 'ssh pi@
It’s important to remember that security is paramount when setting up remote access. Always use strong passwords or consider implementing key-based authentication for added security. Key-based authentication involves generating a pair of public and private keys. The public key is placed on the Raspberry Pi, while the private key remains on your local machine, ensuring only authorized users can gain access.
Additionally, consider changing the default SSH port from 22 to a non-standard port to reduce the risk of unauthorized access attempts. This can be done by editing the SSH configuration file located at /etc/ssh/sshd_config. Look for the line that says 'Port 22', change it to your desired port number, and restart the SSH service for the changes to take effect.
Expanding Remote Control Capabilities
Remote controlling your Raspberry Pi from devices like iPads or iPhones adds versatility to your setup. Setting up SSH and VNC connections allows you to interact with your Raspberry Pi as if you were sitting right in front of it. Both methods require your devices to be on the same local network initially, but once configured, they provide seamless interaction.
VNC (Virtual Network Computing) offers graphical remote control, making it ideal for tasks requiring a visual interface. Meanwhile, SSH focuses on command-line operations, providing efficient text-based interactions. Combining these tools enables versatile control options tailored to different needs.
For more advanced setups, integrating Raspberry Pi with home automation platforms such as Home Assistant enhances functionality further. Using shell commands and SSH scripts, you can automate various processes, including brightness adjustments or system reboots, all controlled remotely. Ensure proper configuration of SSH keys to avoid common errors like receiving Error “255” during execution.
Securing SSH Connections Beyond Basics
Raspberry Pi Secure SSH not only facilitates remote access but also prioritizes security measures. When setting up SSH, consider disabling password authentication entirely and relying solely on key-based authentication. This method significantly reduces the risk of brute-force attacks since attackers cannot guess complex cryptographic keys.
Another layer of security involves limiting SSH access to specific IP addresses or subnets. Edit the SSH configuration file to include the directive 'AllowUsers' followed by the username and permitted IP addresses. For example, 'AllowUsers pi@192.168.1.*' restricts access to devices within the specified subnet.
Finally, explore solutions like RealVNC Server provided by the Raspberry Pi team. These tools offer additional features such as internet connectivity without needing port forwarding, enhancing flexibility while maintaining robust security standards. Such options cater well to users seeking convenience alongside enhanced protection mechanisms.
Advanced Techniques for External Network Access
Remotely controlling your Raspberry Pi from external networks introduces unique challenges but also broadens possibilities. One effective approach involves setting up a dynamic DNS service, allowing your Raspberry Pi to maintain a consistent hostname despite changing IP addresses. Services like No-IP or DuckDNS facilitate this by mapping your dynamic IP to a fixed domain name.
Pairing dynamic DNS with SSH tunneling creates a secure pathway through firewalls and routers, enabling remote access regardless of location. Remember to forward the necessary ports on your router to direct incoming SSH traffic to your Raspberry Pi. Typically, this involves logging into your router's admin panel and specifying rules for port forwarding.
In conclusion, mastering SSH setup on your Raspberry Pi empowers you to harness its full potential remotely. By following best practices outlined here, you ensure both ease of access and stringent security, paving the way for countless innovative applications and projects. Happy tinkering!
