Remote access to your Raspberry Pi opens up a world of possibilities, allowing you to manage and interact with your device from anywhere in the world. Whether you're controlling a media center, monitoring a home automation system, or managing a server, having secure remote access is essential for modern tech enthusiasts. This guide will walk you through the steps necessary to set up remote access securely.
With advancements in technology, setting up remote access has become more accessible than ever before. Tools like Raspberry Pi Connect provide an easy-to-use interface that ensures your device remains secure while granting you the flexibility to control it remotely. Understanding the basics of networking and security protocols will help you configure your Raspberry Pi effectively without compromising its safety.
Understanding Remote Access on Raspberry Pi
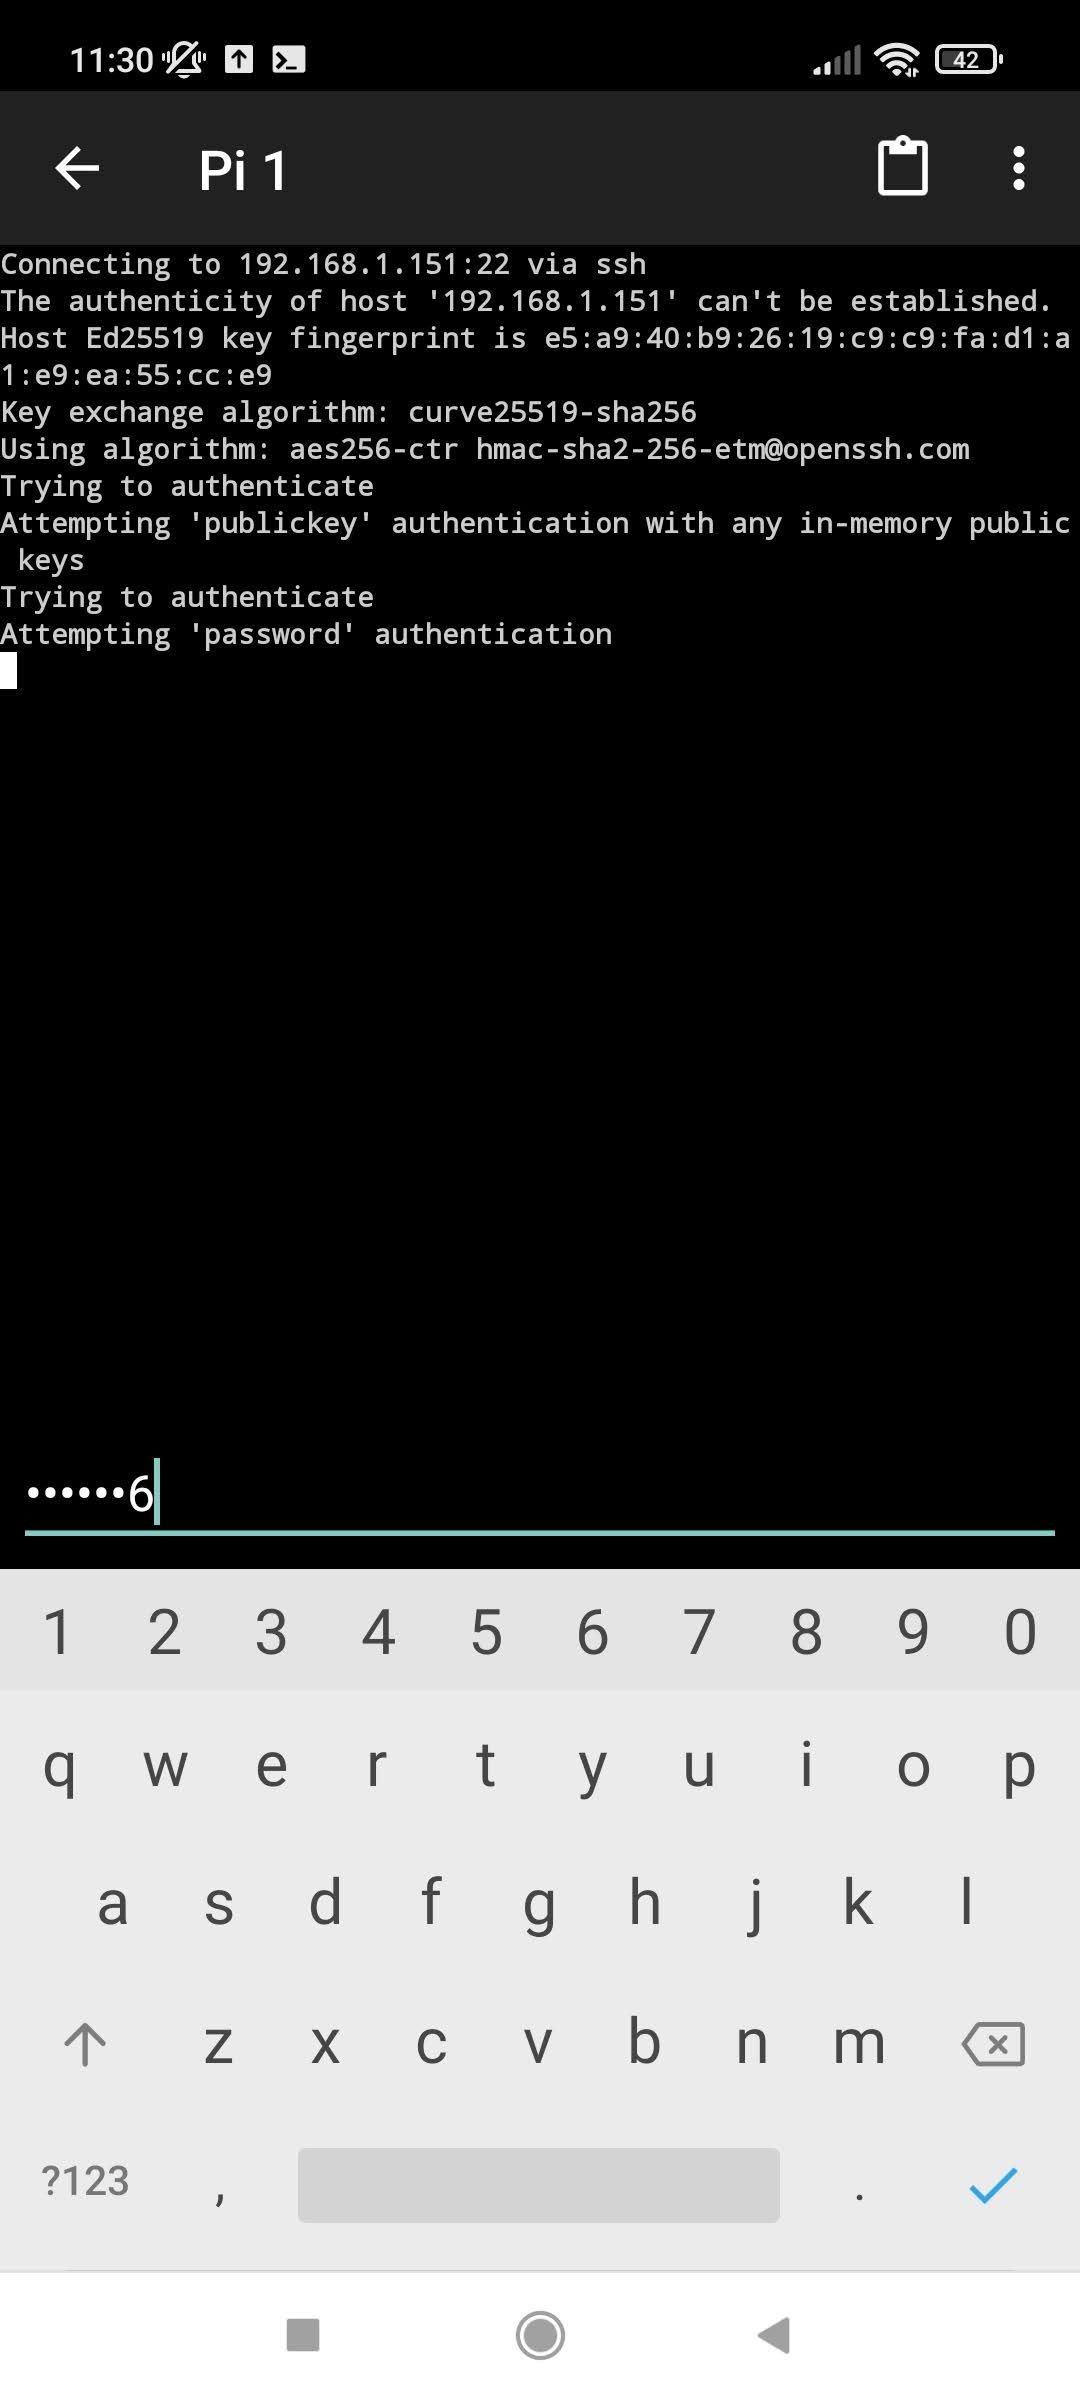
When you enable remote access on your Raspberry Pi, you are essentially configuring it to communicate over the internet or local network. This setup allows you to interact with your device as if you were physically present, using tools such as SSH (Secure Shell), VNC (Virtual Network Computing), or even web-based interfaces. These methods ensure that commands and data exchanges between devices remain encrypted and protected against unauthorized access.
To begin, ensure that your Raspberry Pi is connected to a stable internet connection. Depending on whether you choose wireless or wired connectivity, different configurations may apply. For instance, a Raspberry Pi Zero W might require additional hardware like an OTG adapter if you intend to connect peripherals directly.
Additionally, consider updating your operating system regularly to benefit from the latest features and security patches. Keeping your software current helps mitigate potential vulnerabilities associated with outdated systems. Once these prerequisites are met, proceed with enabling specific services tailored towards facilitating remote interactions.
Configuring Secure Connections
Security should always be at the forefront when setting up remote access for any device, including your Raspberry Pi. Start by enabling SSH, which provides a secure channel for command-line interaction. You can activate this feature either through the Raspberry Pi Configuration tool within the desktop environment or via terminal commands after logging into your device locally.
For graphical user interface access, install and configure VNC Server on your Raspberry Pi. This service allows you to view and control the desktop environment remotely, making it ideal for tasks requiring visual feedback. Remember to set strong passwords and consider implementing two-factor authentication where possible to enhance protection against unauthorized logins.
Furthermore, explore options like Raspberry Pi Connect, which simplifies the process of establishing secure connections by handling much of the configuration automatically. Such solutions often integrate seamlessly with existing networks, providing ease-of-use without sacrificing robustness.
Troubleshooting Common Issues
Even with careful planning, issues may arise during the setup process. One common problem involves incorrect IP addresses being used when attempting to connect remotely. Ensure that you correctly identify your Raspberry Pi's local IP address and, if accessing from outside your network, forward appropriate ports on your router to direct incoming requests properly.
If you encounter difficulties connecting despite proper settings, verify firewall rules both on your local machine and router level. Sometimes default configurations block certain types of traffic necessary for successful remote communication. Adjusting these parameters appropriately can resolve connectivity problems swiftly.
In cases where dynamic DNS services are employed, confirm that updates occur consistently to reflect changes in your public IP address assigned by your Internet Service Provider. Failure to maintain accurate records could result in failed attempts to reach your Raspberry Pi remotely. Regularly testing your setup under various conditions helps identify weak points early, ensuring reliable performance whenever needed.
